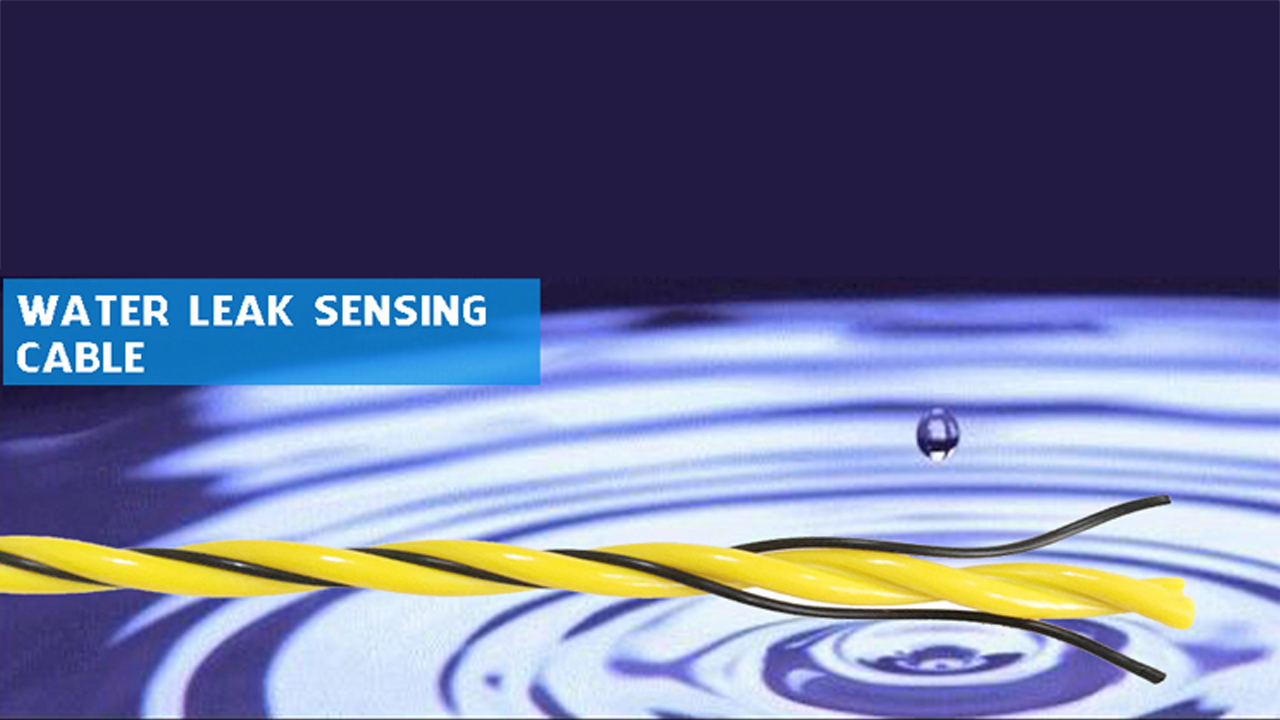
In an era where technology allows us to safeguard our homes more efficiently, water leak detection cables have become an indispensable tool. These devices can alert us to water leaks before they escalate into severe issues, potentially saving substantial time, money, and distress. This article is designed to guide you through the meticulous process of installing and maintaining these invaluable cables.
Essential Preparations and Tools Needed Before Installation
Before diving into the installation process, it's pivotal to gather the right tools. The list includes the water leak detection cable, cable ties, cable clips, a drill (for wall installations), and an installation guide if provided by the manufacturer.
Prior to installation, formulate a strategic plan to optimize cable placement. Identify areas vulnerable to leaks, such as bathrooms, kitchens, and basements, and areas where water damage could result in significant loss, such as around electrical appliances.
Step-by-Step Installation Guide
1. Installation of Cables on Floors
Position the cable along the likely paths of potential leaks, such as near appliances or plumbing lines. Ensure the cable is secured firmly and flat against the floor with cable ties and clips. Avoid twisting or bending the cable, as it may compromise its functionality.
2. Wall Installation
Start by drilling holes for the cable clips, adhering to the spacing recommendations provided in the cable's installation guide. Next, affix the cable along the wall (either vertically or horizontally) using the drilled holes and clips.
3. Ceiling Installation
In spaces where leaks could originate from above (like under pipes or air conditioning units), fasten the cable to the ceiling using the cable clips. As with wall installations, adhere to the manufacturer's guidance regarding clip spacing.
Guaranteeing Proper Cable Placement and Connection
Once the cables are in place, connect them to your monitoring system as per the manufacturer's guidelines. The cable should ideally follow the natural path water would take if a leak occurred, thereby maximizing the chances of early leak detection.
Maintaining Your Water Leak Detection Cables
Regular maintenance is crucial to ensure the ongoing performance of your water leak detection cables. This encompasses:
1. Regular Inspections: Check your cables periodically for signs of damage, such as cuts or wear and tear. If any damage is identified, replace the cables immediately to maintain system integrity.
2. Cleaning: Accumulated dust and debris can impede the functionality of the cables. Use a dry cloth to clean the cables routinely and prevent dirt buildup.
Addressing Common Issues and False Alarms
Despite diligent installation and maintenance, you might encounter issues or false alarms. Here's how to navigate these problems:
1. False Alarms: These might be triggered by high humidity or condensation. Ensure the cable isn't located near sources of moisture, like cooling units.
2. No Alerts During a Leak: If the system fails to alert during a known leak, inspect the cables and the connection to the environment monitoring system. If the issue persists, it might be wise to contact the manufacturer for support.
Conclusion
To ensure the optimal performance of your water leak detection cables, proper installation and ongoing maintenance are non-negotiable. By adhering to the detailed steps above, you can protect your property from potentially expensive water damage. Regular inspections and cleaning of the cables will ensure their lasting functionality, offering you peace of mind knowing your property is well-guarded against water-related mishaps.